Congratulations on Your New LIR Account!
You have just become a RIPE NCC Local Internet Registry. Now what? This checklist guides you through the essential tasks to complete in your first 30 days.
Week 1: Account Setup
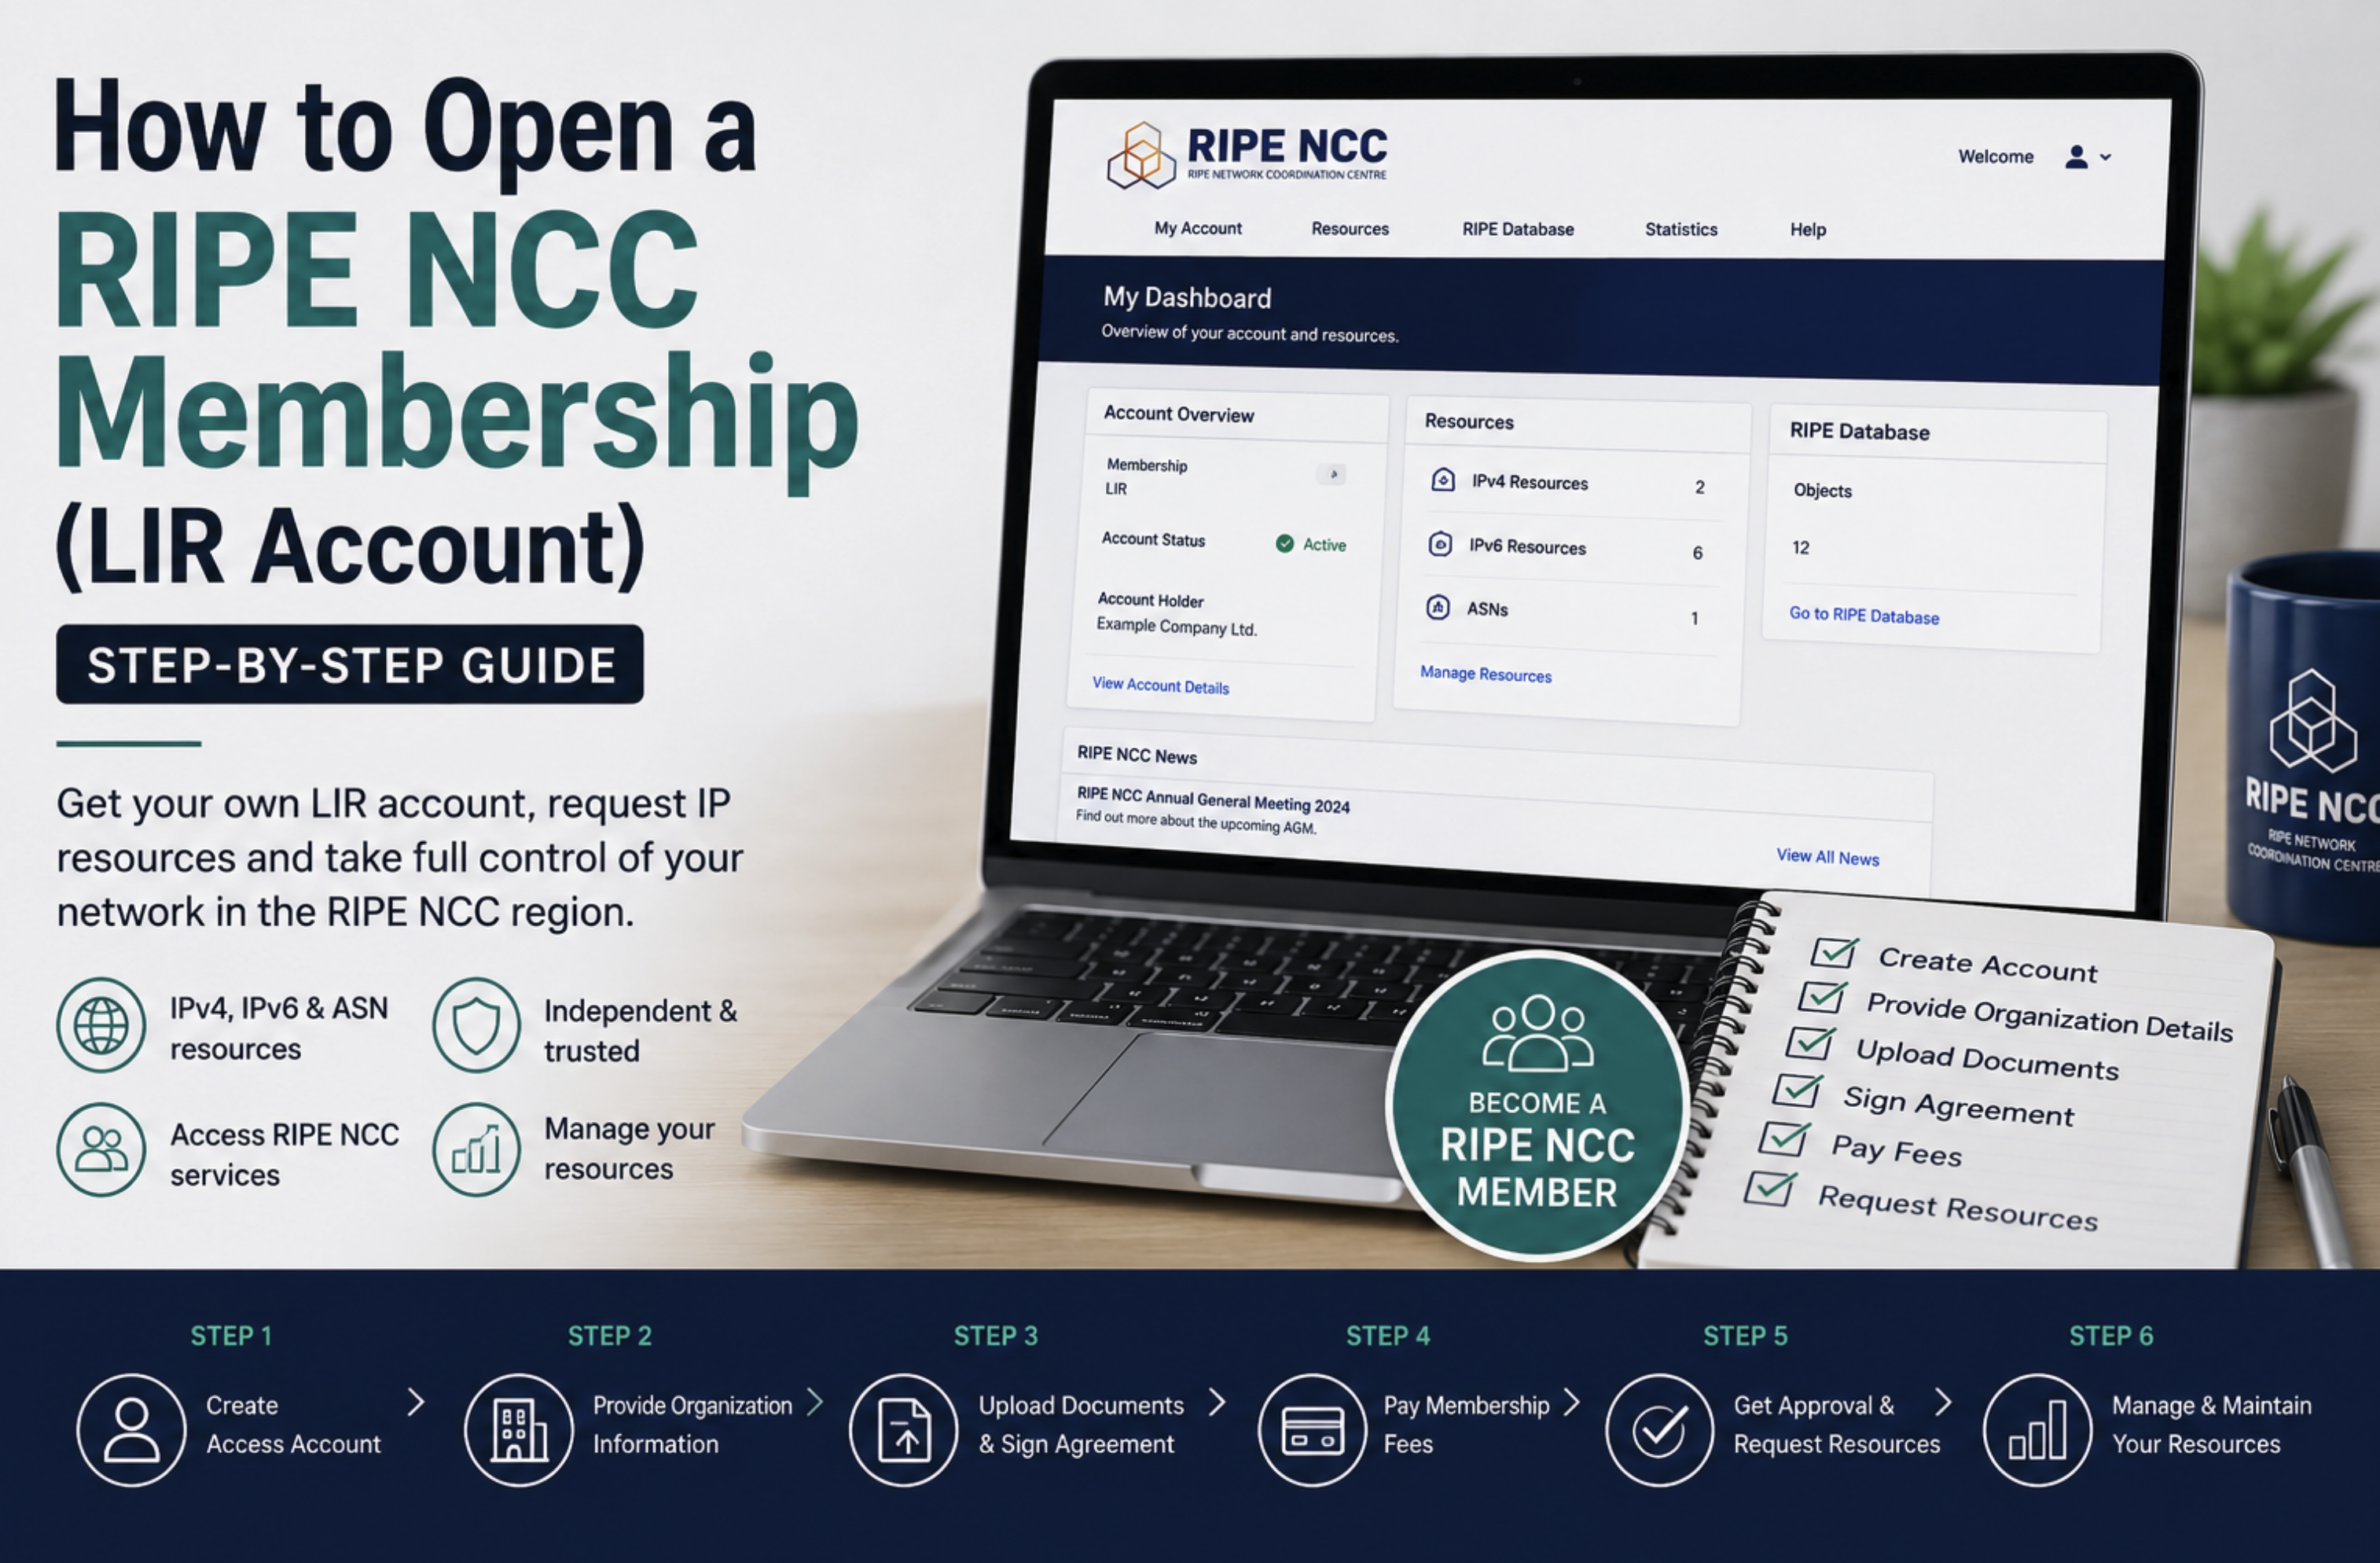
1. Familiarize Yourself with the RIPE NCC Portal
Log in to my.ripe.net and explore the dashboard. Key sections: Resources, RPKI, Billing, and Support.
2. Set Up Your RIPE Database Objects
- Review your organization (ORG) object
- Ensure your maintainer (MNT) object has correct authentication
- Create role and person objects for your technical and admin contacts
3. Configure abuse-c Contact
RIPE NCC requires an abuse-c attribute on your organization object. This is the email address that receives abuse complaints. Set this up immediately - it is a compliance requirement.
Week 2: Request Resources
4. Join the IPv4 Waiting List
Submit a request to join the IPv4 waiting list for your free /24 allocation. While the wait can be long, there is no reason not to join immediately.
5. Request an AS Number (If Needed)
If you plan to run your own BGP routing, request an ASN through the RIPE NCC portal. You will need to provide peering information (at least two upstream providers).
6. Consider Buying IPv4 on the Market
If you need IPv4 addresses sooner than the waiting list allows, purchase them on the secondary market. Remember, this does not affect your waiting list position.
Week 3: Security and Routing
7. Set Up RPKI
Navigate to RPKI section in the RIPE NCC portal. When you receive IP addresses (via purchase or allocation), create ROAs to protect against BGP hijacking.
8. Verify Your Contact Information
Ensure all contact details in the RIPE Database are accurate and up to date. RIPE NCC periodically verifies this information.
Week 4: Operations
9. Set Up Blacklist Monitoring
Once you have IP addresses, set up continuous blacklist monitoring to protect your IP reputation from day one.
10. Plan Your IP Address Management
- Create assignment and allocation plans
- Document your IP address usage
- Set up reverse DNS (rDNS) for your address space
Need IPv4 addresses to get started? Browse available blocks or lease addresses for immediate deployment.