
APNIC Region
The Asia Pacific Network Information Centre (APNIC) serves the following regions:
- Asia
- Pacific nations
If your organization is located in one of the following countries, follow the instructions provided by your National Internet Registry (NIR):
- China (CNNIC)
- Japan (JPNIC)
- Indonesia (APJII)
- India (IRINN)
- Korea (KISA)
- Taiwan (TWNIC)
- Vietnam (VNNIC)
Step 1: Create a MyAPNIC Account
Go to https://membership-application.apnic.net
Fill the inputs with your account informations you want to login, submit the form.
Validate your email using the link in your welcome email.
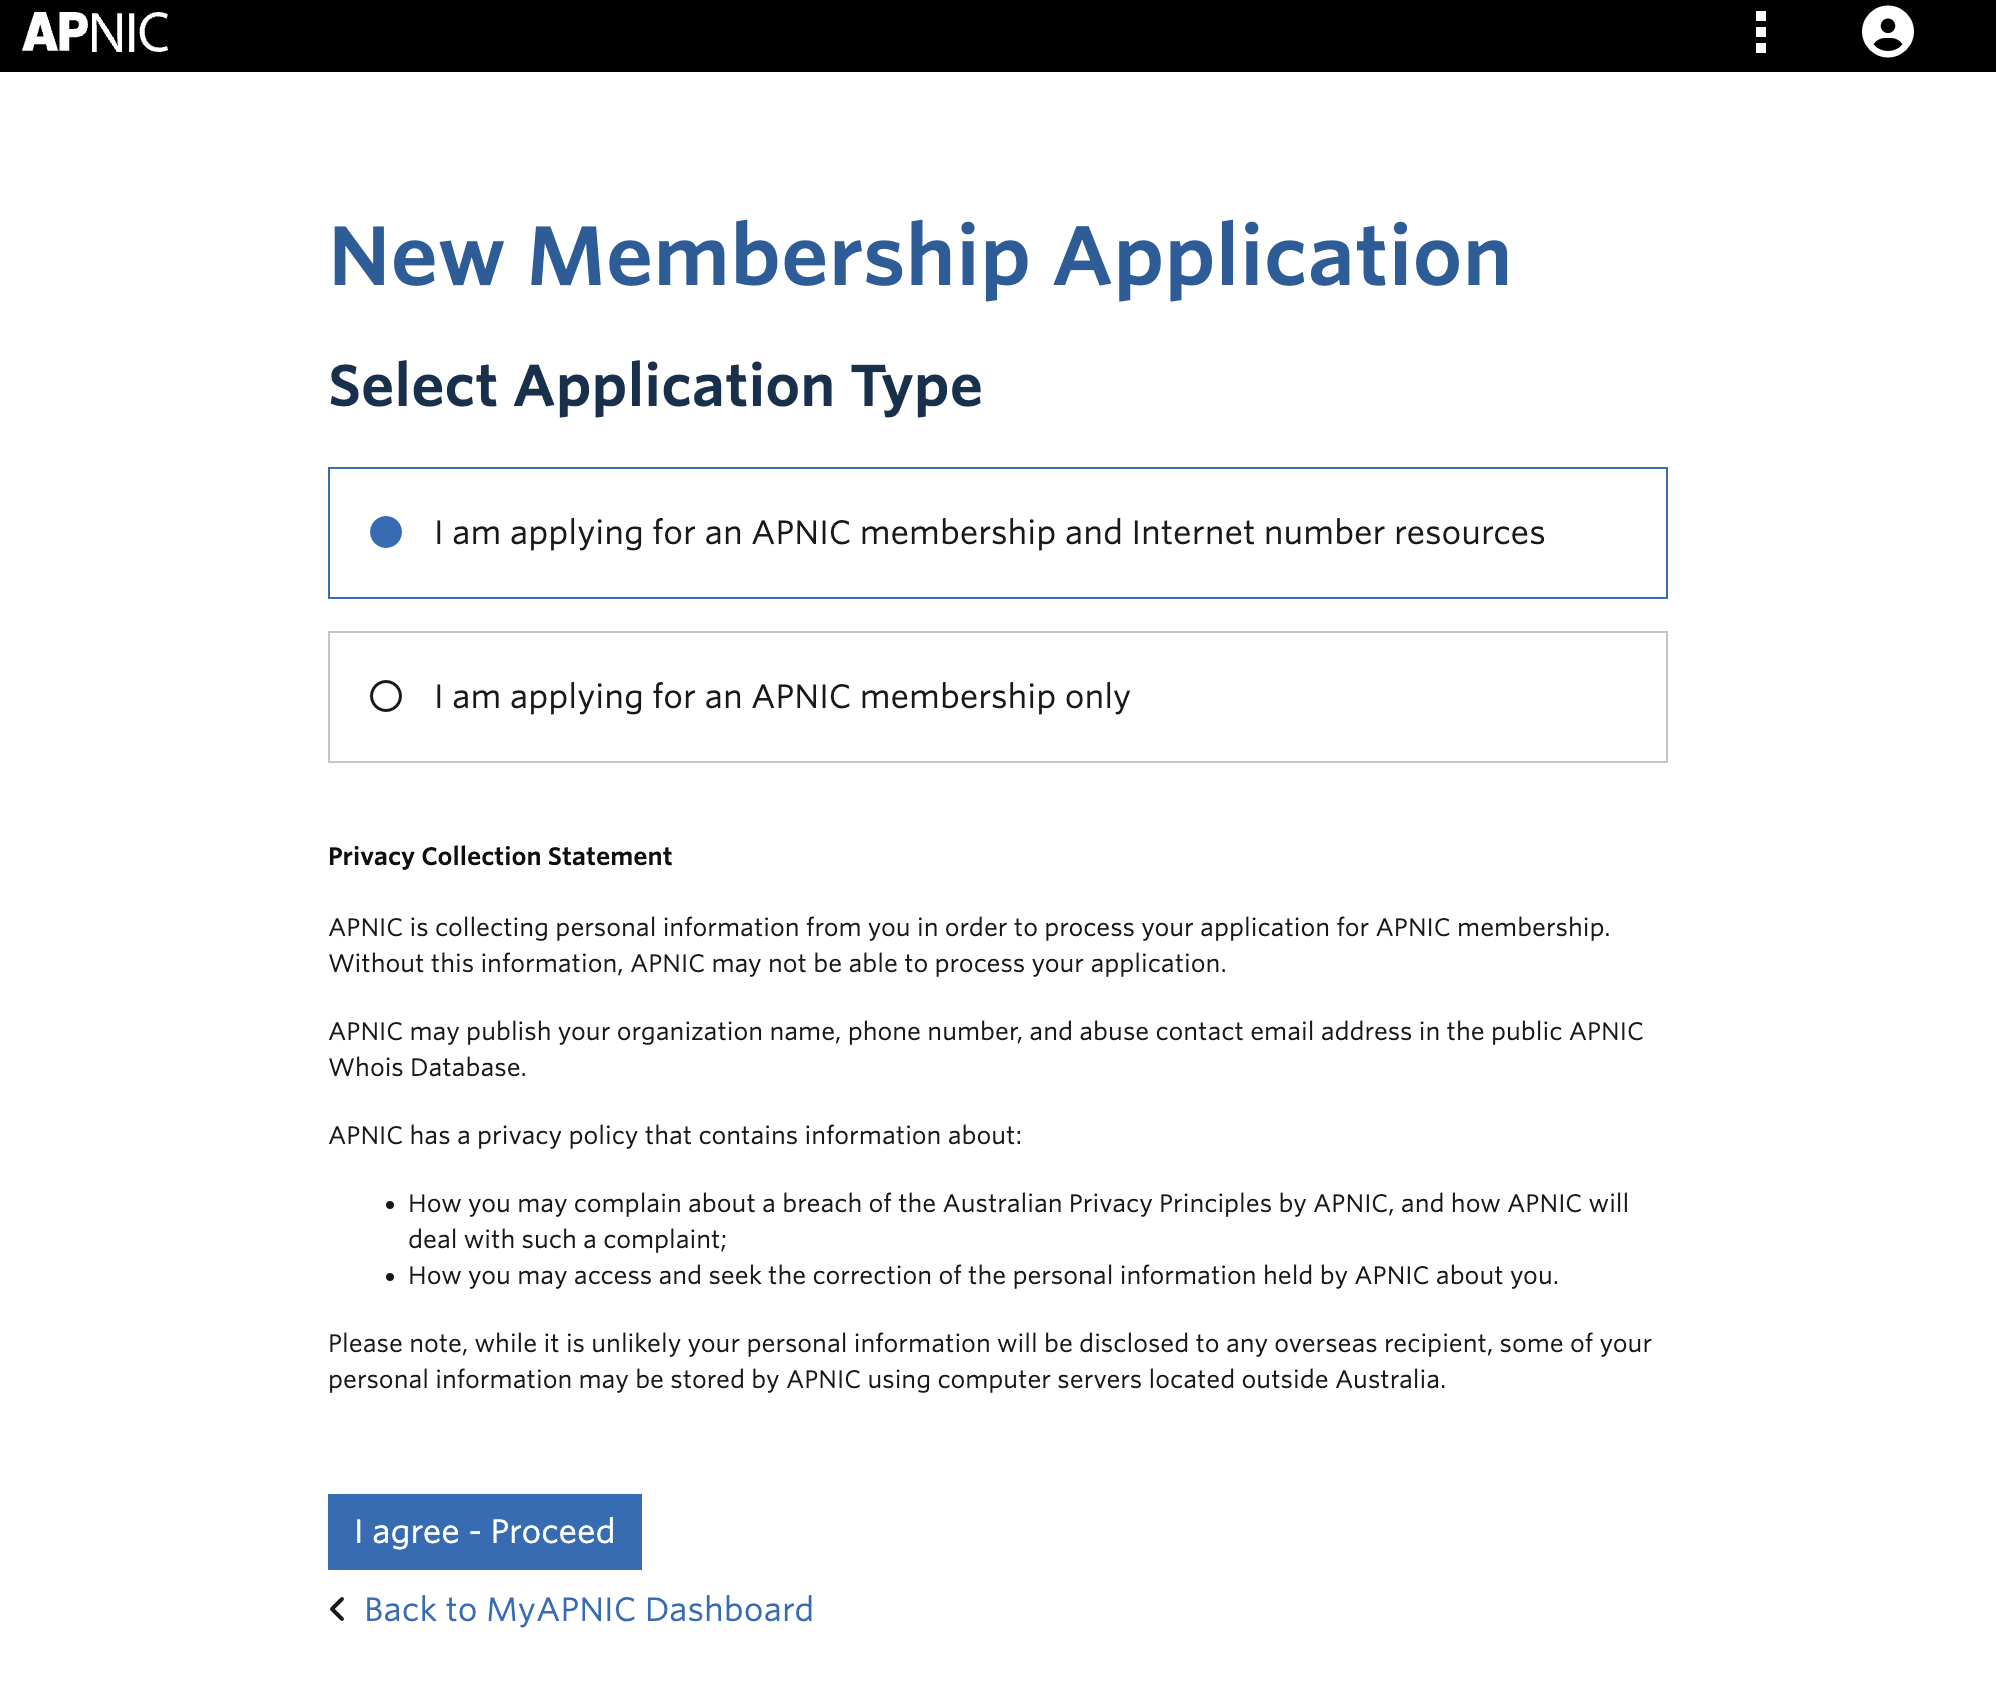
Step 2: Apply for APNIC Membership
To become an APNIC member, you will need to complete the membership application process:
- Go to https://membership-application.apnic.net/MA355102/step/application-type.
- Prepare the following documents:
- Photo ID for the primary and secondary contact persons.
- Corporate registration paperwork (with English translation, if applicable).
- A letter of employment or authorization from a company director naming you as the point of contact.
- A utility bill or similar document proving active operations in the region.
- Documentation detailing IPv4 address usage and justifications for additional space. See IPv4 guidelines for reference.
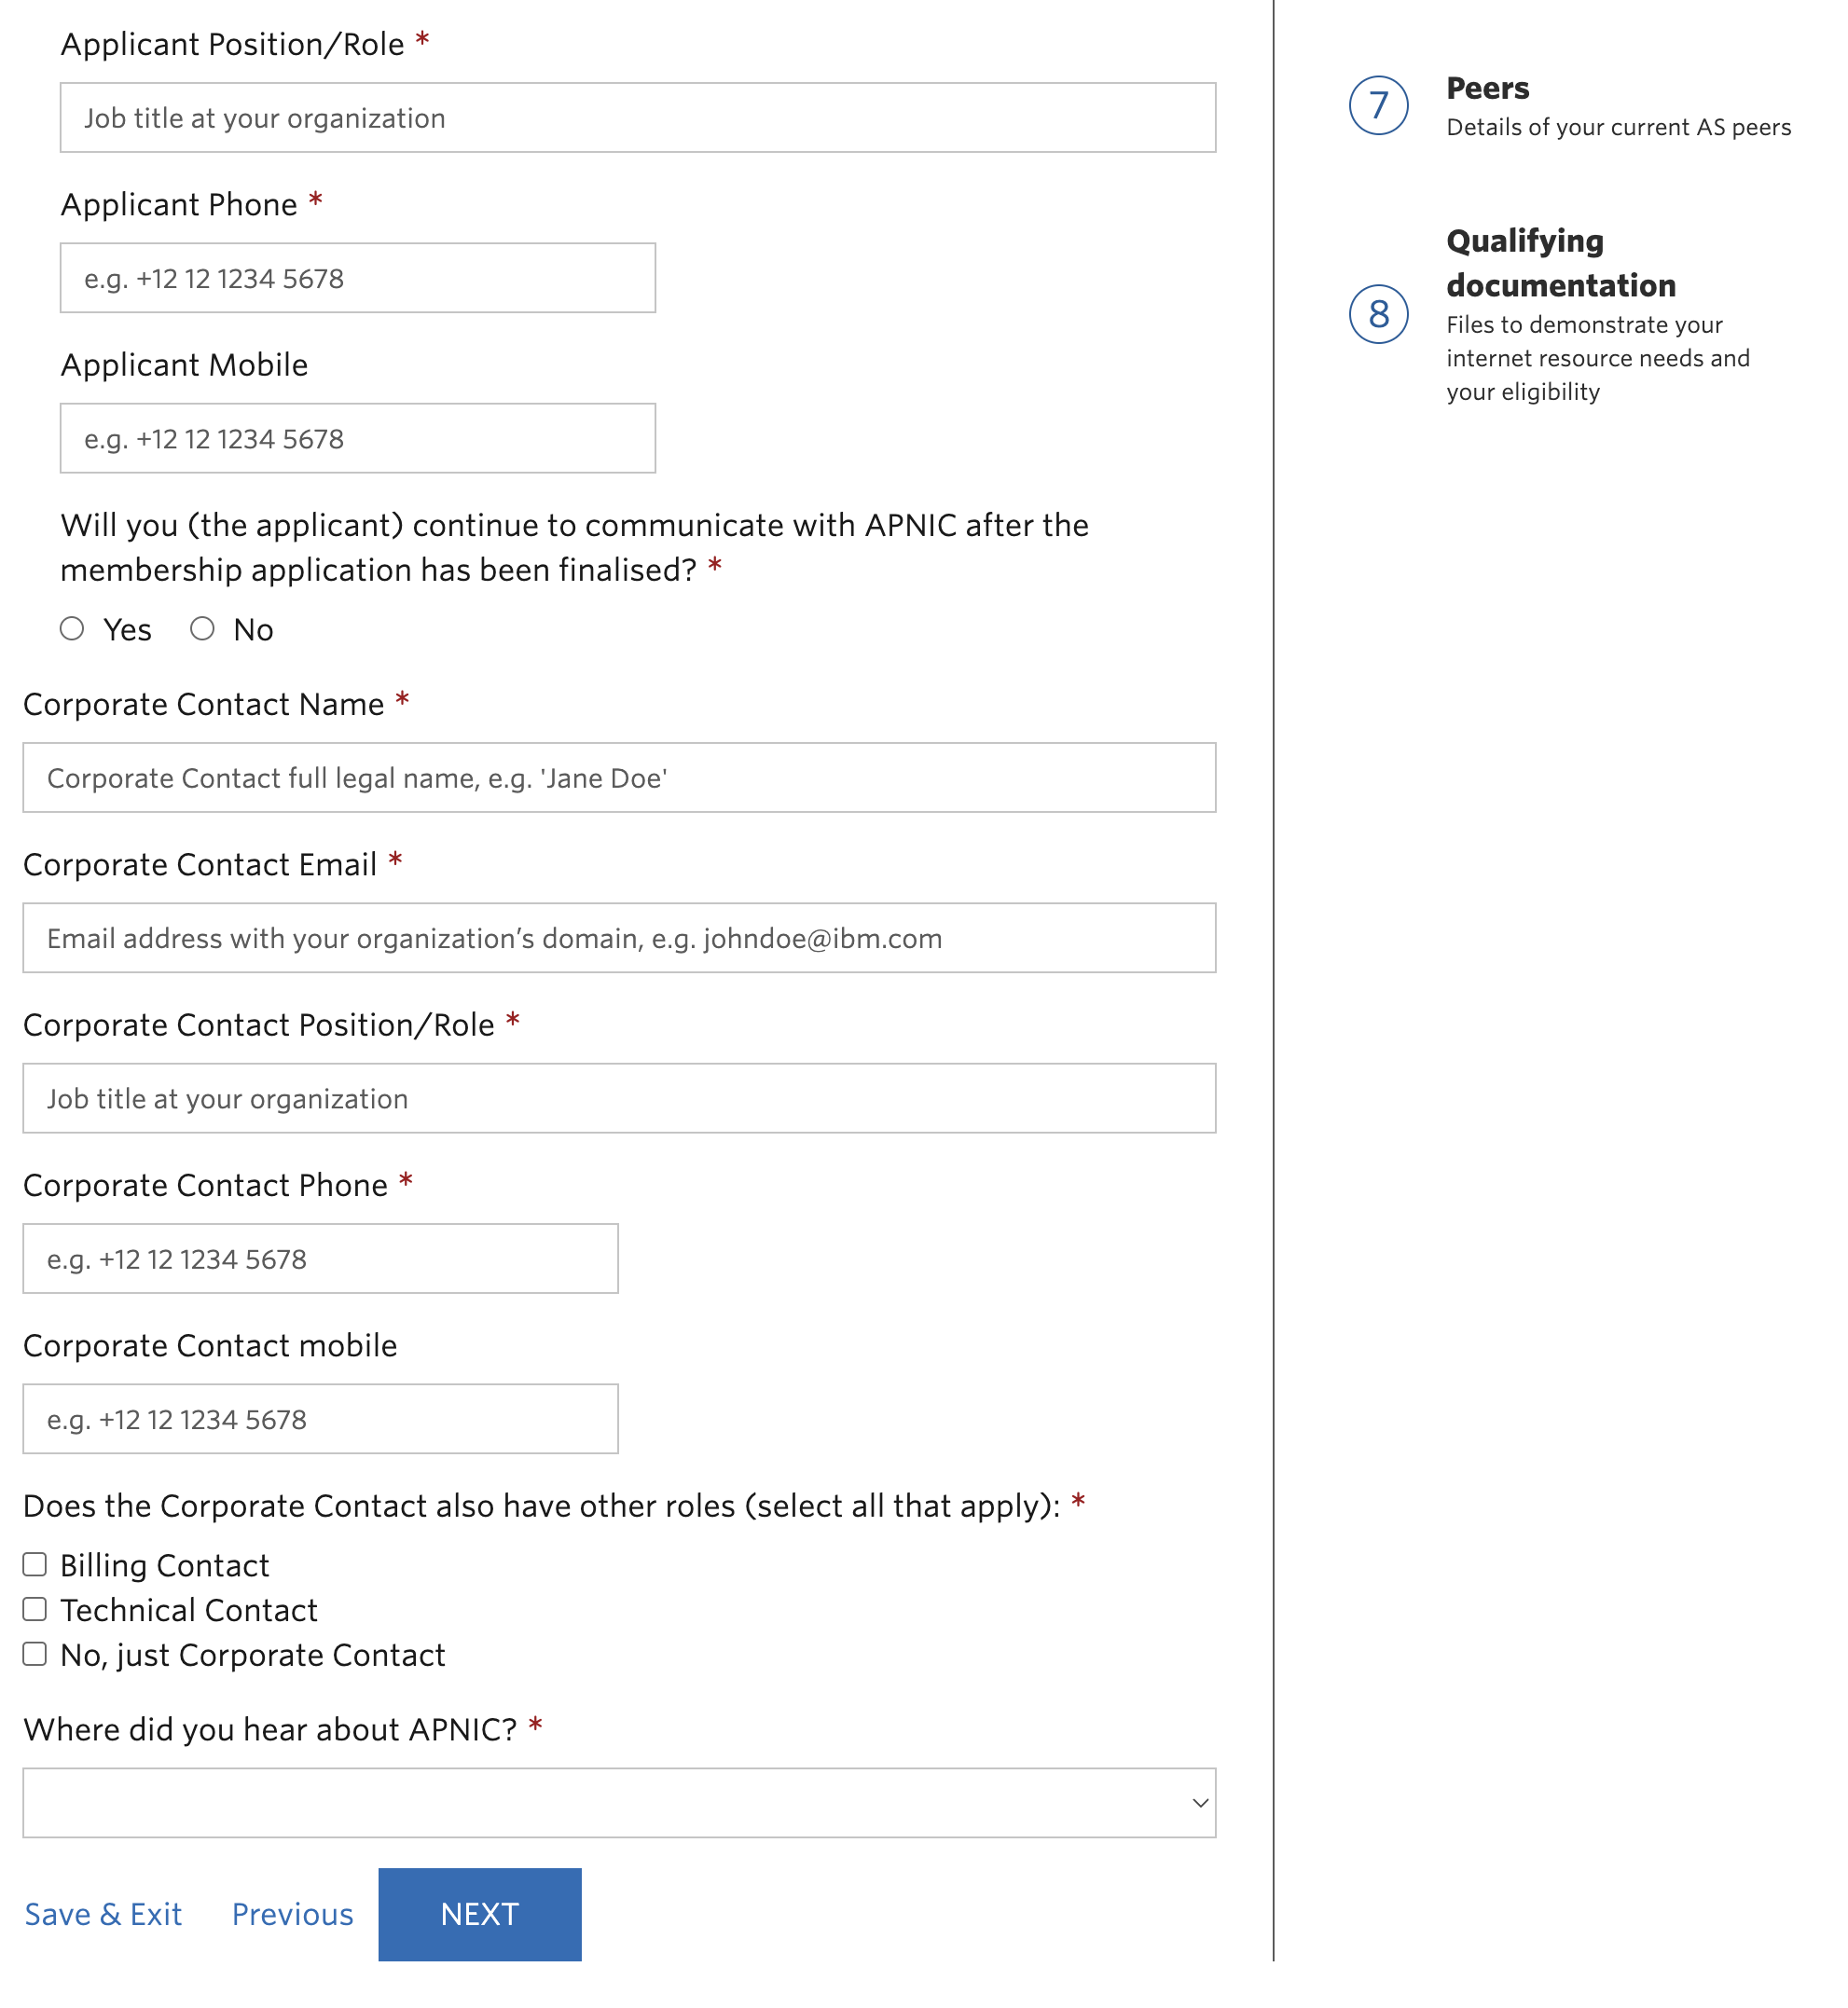
Fill the inputs with your organisation details, most of the inputs seems like duplicate but it doesn't, you can write the same person's details to every box if your company is not a multi-employer company.
Click "Next"
Fill the secondary contact section, then click "Next"
Fill the Organization details section, then click "Next"
Fill the Billing details section, then click "Next"
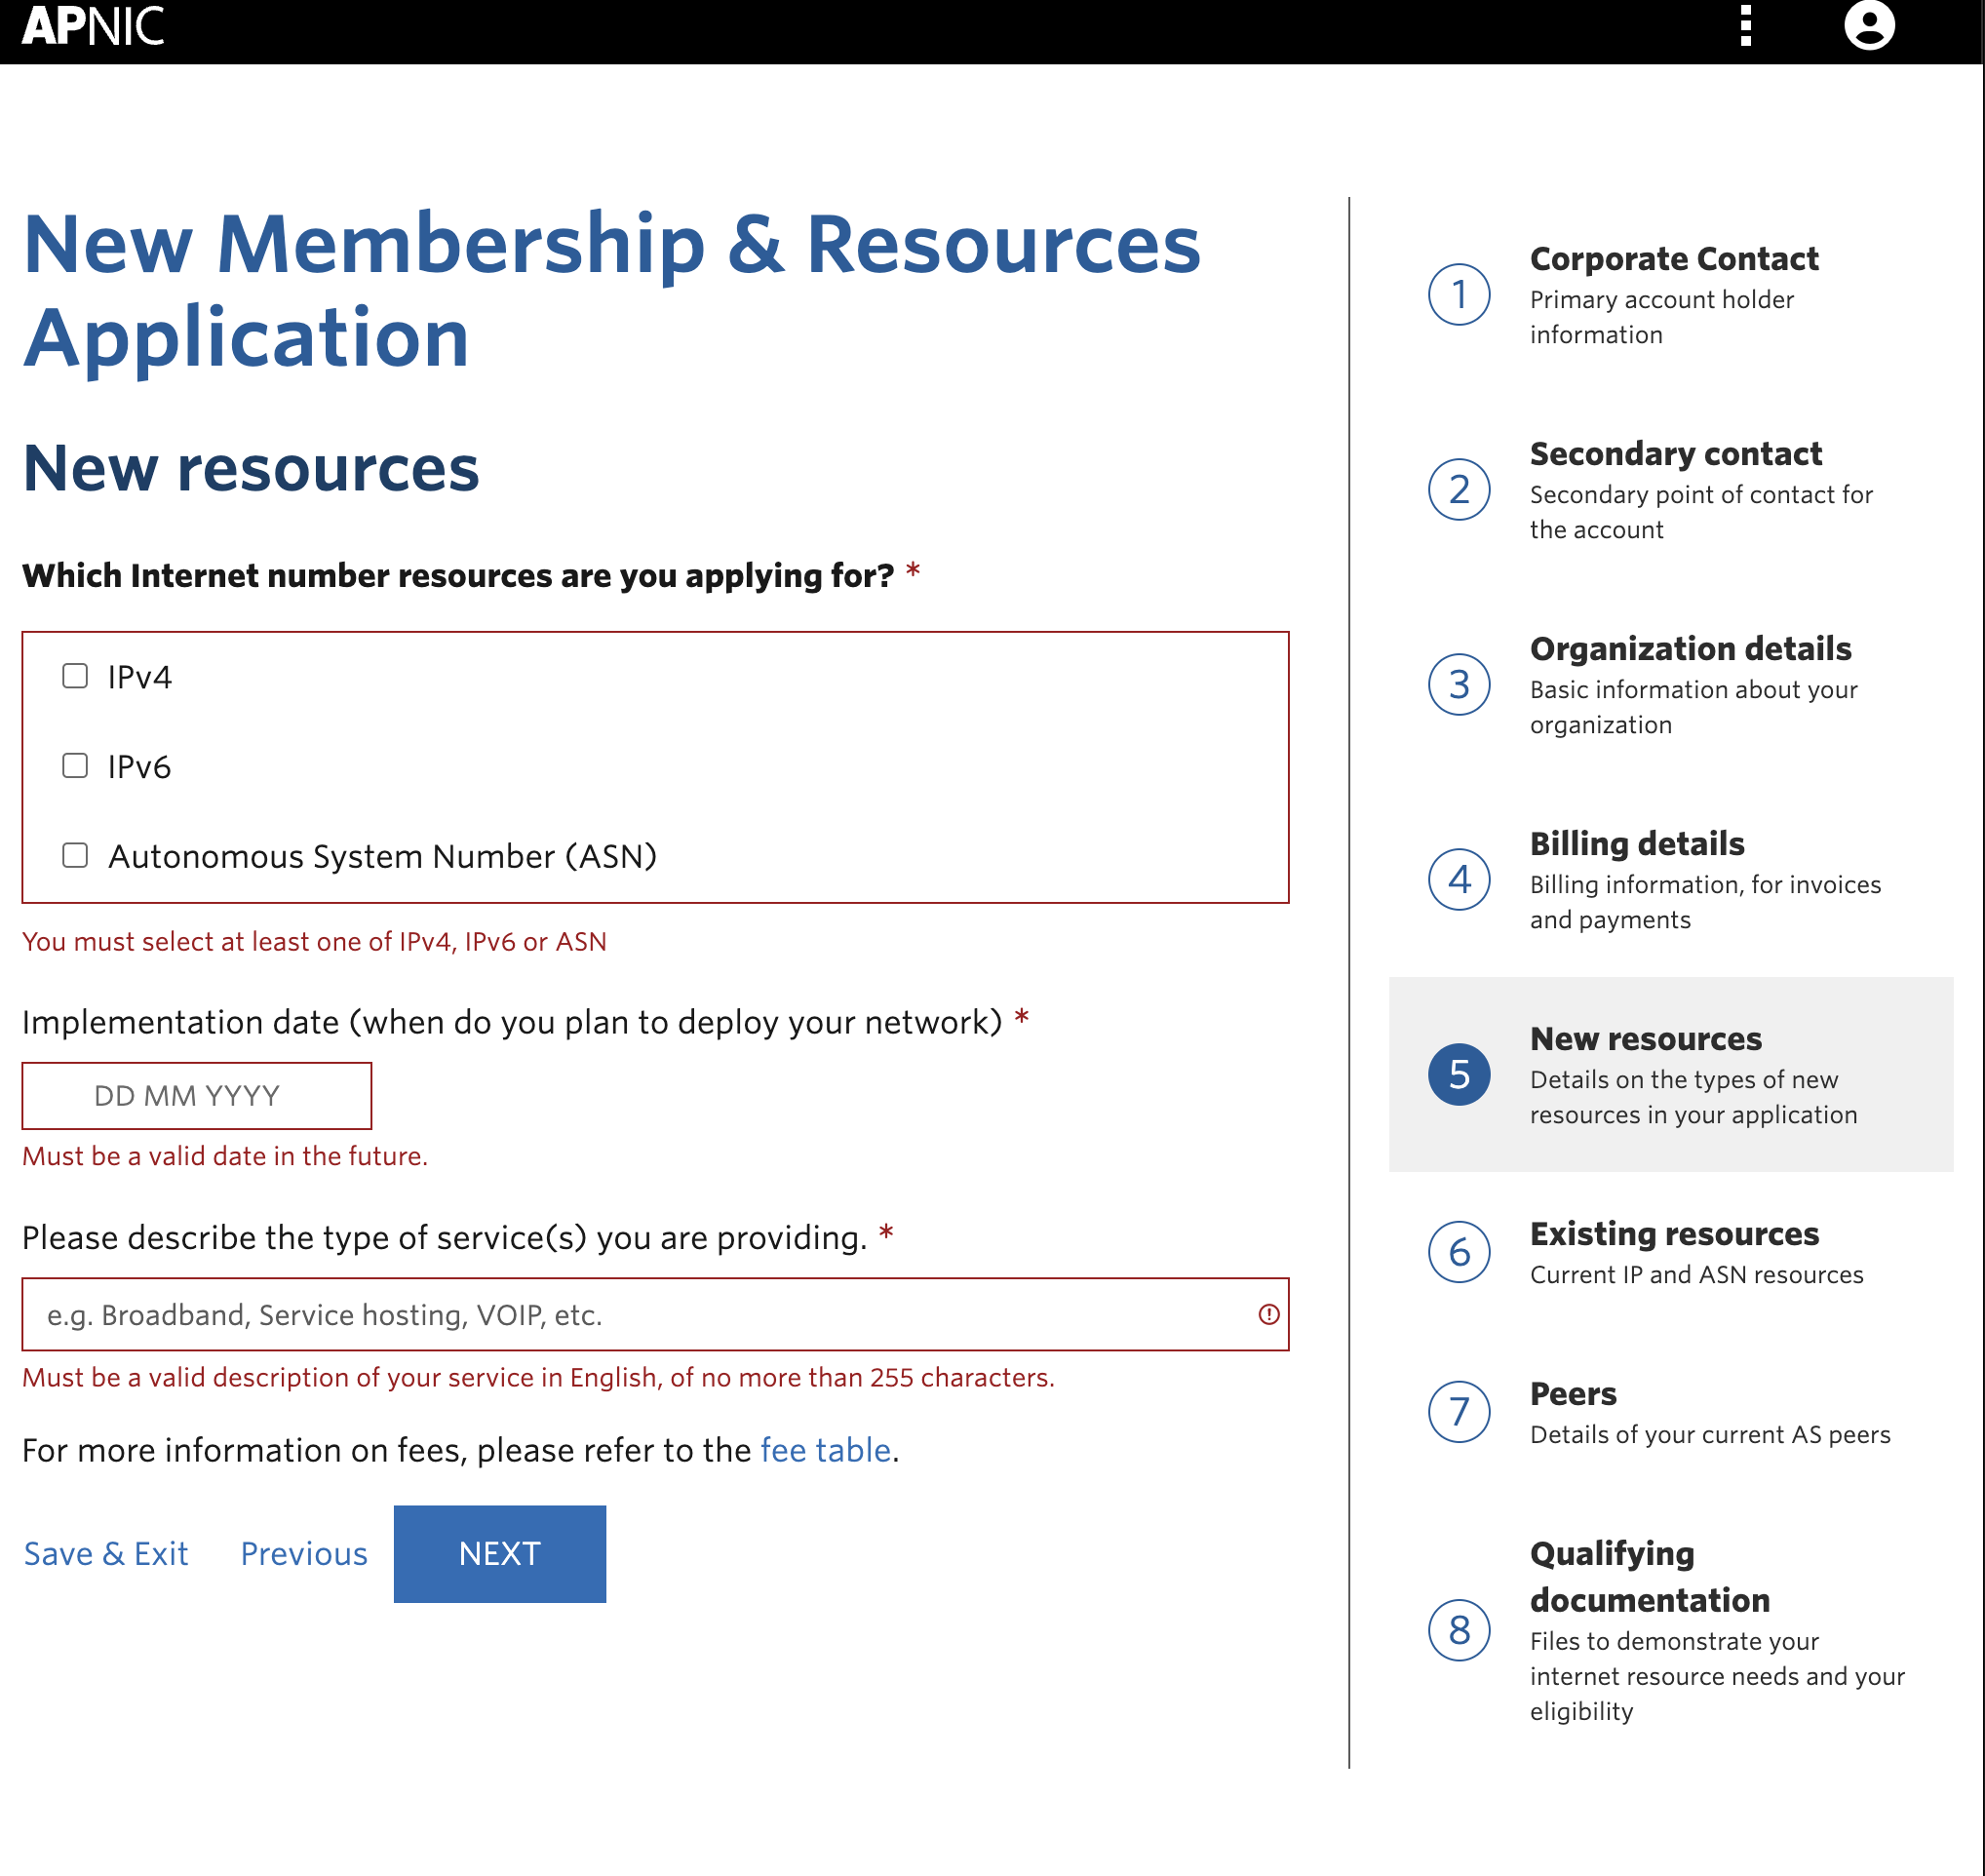
On the 5. step (New resources), select the resource that you want to acquire, but be careful every selection can cost you more money since the APNIC's resources fee, please check the list: https://www.apnic.net/get-ip/apnic-membership/how-much-does-it-cost
Click "next"
Write existing resources if you have any, then click "Next"
Write the peers details for your AS number, then click "Next"
Upload the files that you've already prepared in the start of this step and click "Review & Submit" button
The application review process takes approximately 2-5 business days.
Step 3: Request Pre-Approval for IPv4 Address Transfers
If you have not done this as part of becoming a member, request pre-approval for IPv4 transfers:
- Log into the MyAPNIC portal.
- Follow the process outlined in the pre-approval guide.
- Include documentation explaining your need for the requested address space. Refer to the IPv4 guidelines for more details.